
Reviving the Luxury: Tips for Leather Restoration in Classic Cars
At Restore a Muscle Car, we understand that the interior of a classic car is just as important as its exterior. Leather seats and trim are key elements that add to the luxury and authenticity of a vintage vehicle. Over time, however, leather can crack, fade, and wear out. In this blog, we’ll share expert tips on restoring leather in classic cars, bringing your vehicle’s interior back to its original glory.
1. Assess the Condition of the Leather
Before starting any restoration, it's crucial to assess the current state of the leather. Look for cracks, dryness, fading, and any signs of damage or wear. This assessment will help you determine the level of restoration required—whether it's simple cleaning and conditioning or a more intensive repair.
2. Clean the Leather Thoroughly
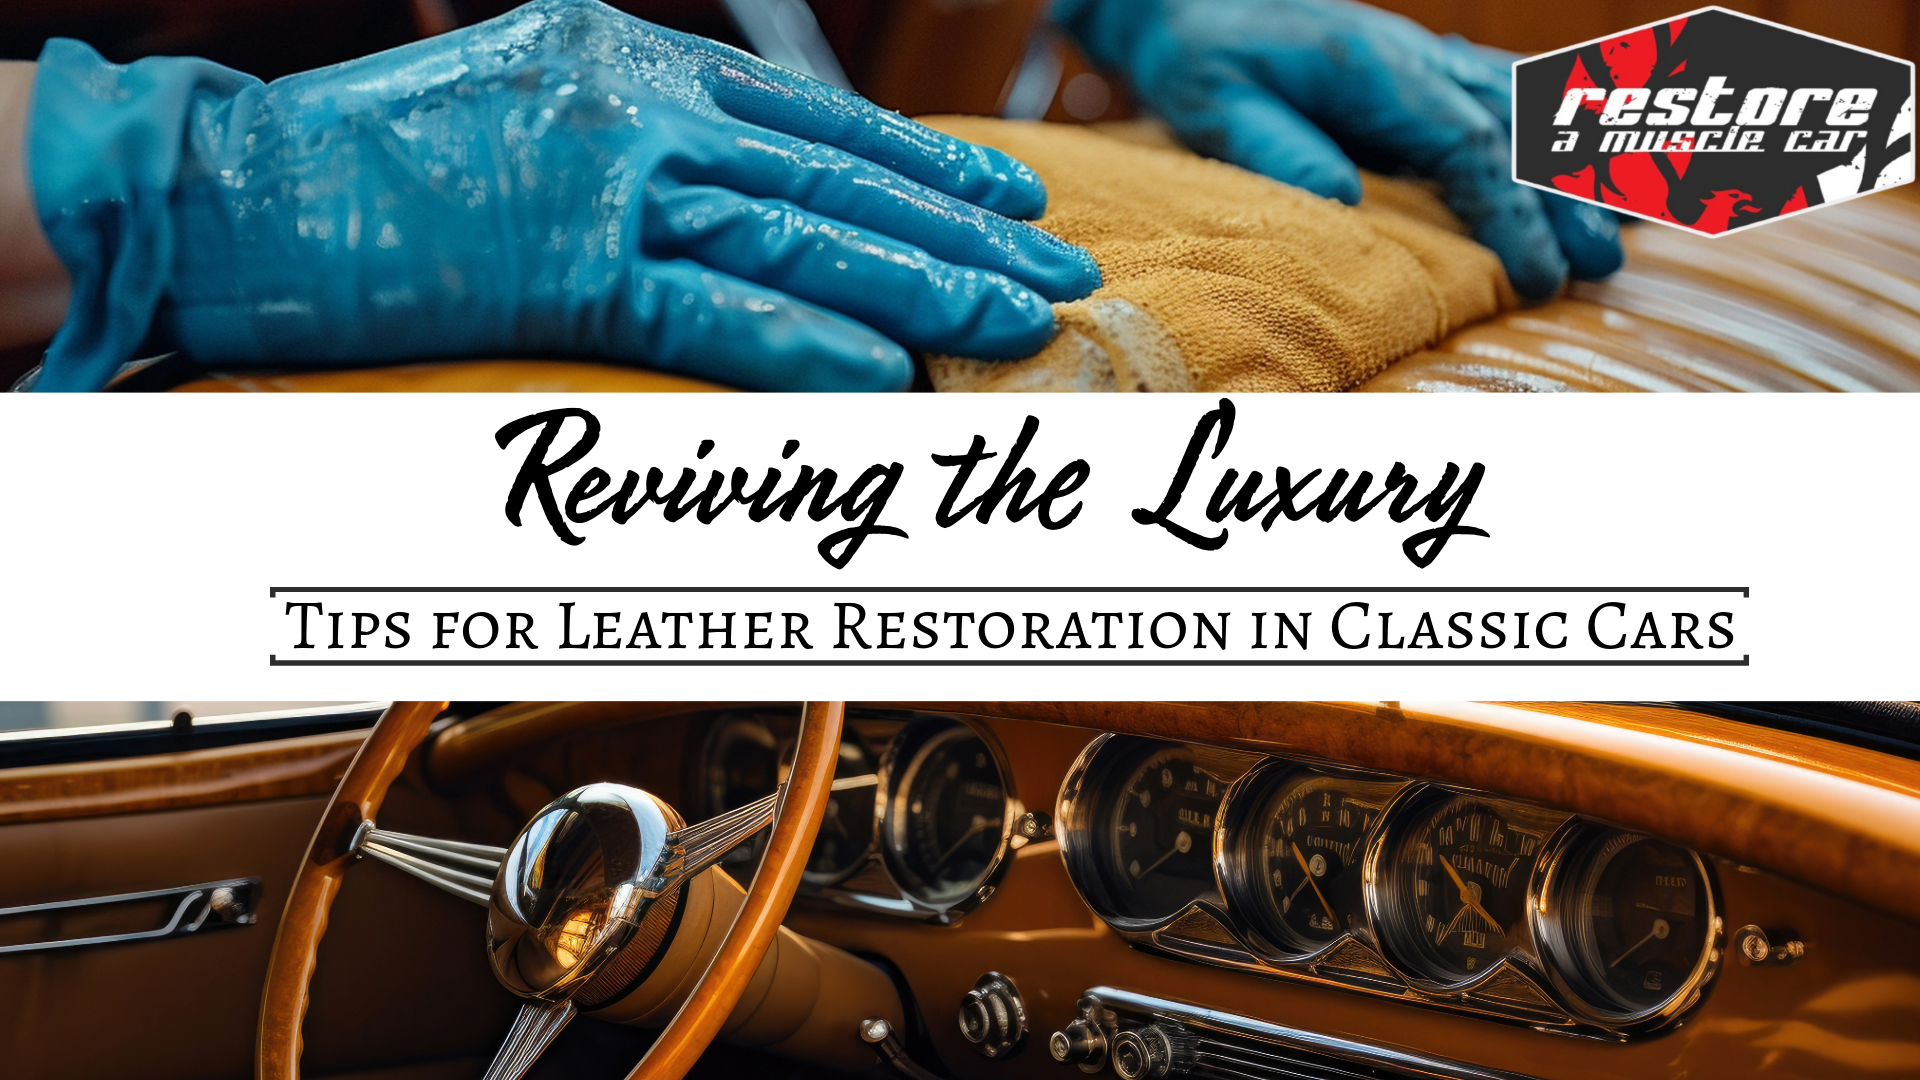
Start by cleaning the leather to remove dirt, grime, and oils that have accumulated over the years. Use a high-quality leather cleaner that is specifically designed for automotive interiors. Gently apply the cleaner with a soft cloth or sponge, working it into the leather in circular motions. Avoid using harsh chemicals that can strip the leather of its natural oils.
3. Condition and Hydrate the Leather
Once the leather is clean, it's time to reintroduce moisture and flexibility. Apply a leather conditioner to hydrate the material, preventing further cracking and drying. Choose a conditioner that is appropriate for the type of leather in your car—whether it’s aniline, semi-aniline, or pigmented leather. Work the conditioner into the leather with a soft cloth, allowing it to absorb fully before wiping away any excess.

4. Repair Cracks and Tears
If your leather has cracks, tears, or holes, these can be repaired with a leather repair kit. Start by filling in small cracks with a leather filler, applying it carefully to blend with the surrounding area. For larger tears, use a patch from the repair kit, ensuring it matches the original leather as closely as possible. Once the filler or patch is applied, sand the area lightly to smooth it out before applying dye or color.
5. Recolor and Restore Faded Leather
Faded leather can be revitalized with a leather dye or colorant. Choose a color that matches the original leather, and test it on a small, inconspicuous area first. Apply the dye with a sponge or brush, working in thin, even layers. Allow each layer to dry completely before applying the next. This process may need to be repeated several times to achieve the desired color depth and evenness.
6. Protect the Leather for the Future
After restoring the leather, it’s important to protect it from future wear and tear. Apply a leather protectant to shield the material from UV rays, spills, and stains. Regular maintenance is key—clean and condition the leather periodically to keep it in top condition.
Conclusion